In summary:
- Most “free” reclaimed wood is dangerously unstable for indoor art due to massive shifts in moisture content.
- Many old pallets are treated with toxic chemicals like Methyl Bromide (MB); proper identification is non-negotiable for safety.
- The “free wood” myth ignores significant labor and tool costs, which often make professional panels a cheaper, safer option.
- Archival sealing is not about a plastic-like topcoat but about penetrating the fibers to create a stable, reversible barrier.
- Combining materials like wood and paint requires understanding differential movement to prevent cracking and delamination.
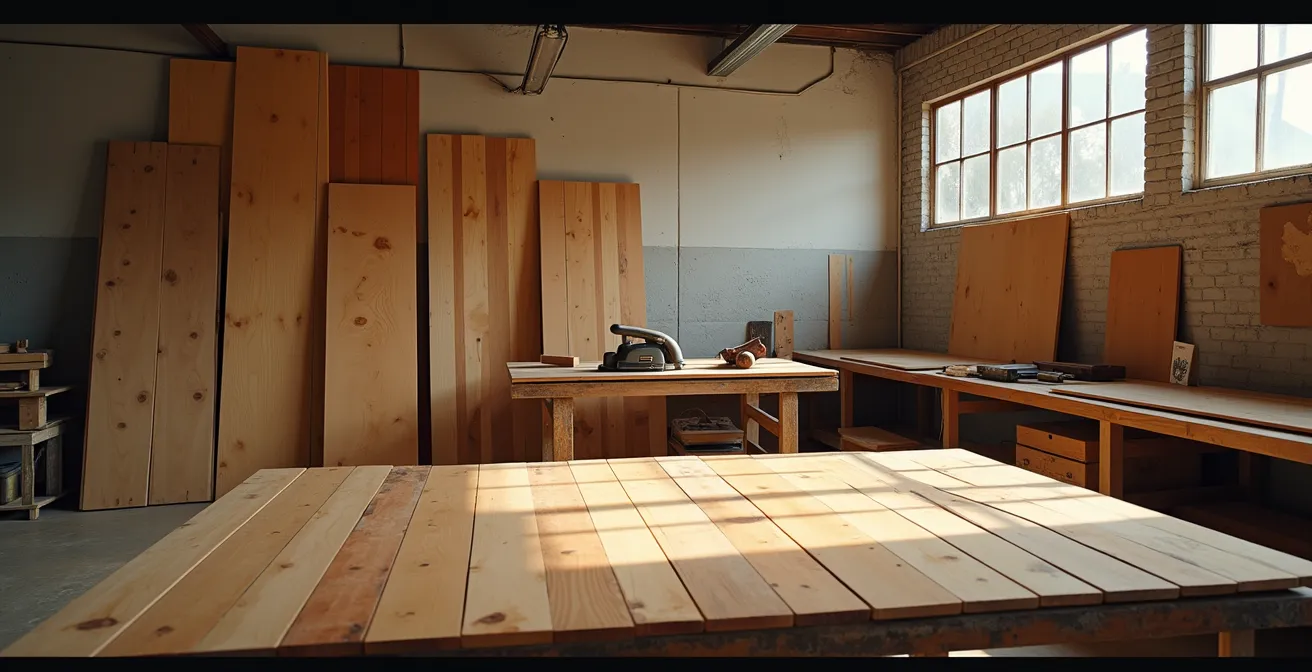
The allure of reclaimed wood is potent. We see a weathered pallet or a greyed barn board and imagine a rustic masterpiece, a surface imbued with history and character. This romantic vision fuels countless art projects, celebrated for their eco-conscious aesthetic. But for the serious artist or craftsperson, a dangerous gap exists between this rustic dream and the reality of archival craftsmanship. The truth is, that “free” wood is often a liability in disguise, laden with hidden dangers, inherent instability, and labor costs that can dwarf the price of professionally prepared materials.
Most online tutorials gloss over the foundational science, offering simplistic advice that leads to warped panels, cracked paint, and even health hazards. They focus on the aesthetic, not the structural integrity. This guide takes a different path. We will move beyond the superficial and embrace the mindset of a master ébéniste. The key to transforming a discarded pallet into a luxury art surface isn’t about more sanding or a thicker coat of varnish. It’s about mastering material science: understanding wood’s relationship with moisture, identifying chemical threats, and executing professional stabilization and finishing techniques.
This article provides the professional framework that separates a fleeting DIY craft from a lasting work of art. We will dissect the science behind warping, learn to read the cryptic language stamped on pallets, perform a true cost analysis of “free” wood, and explore the archival methods for sealing and combining materials to ensure your creation stands the test of time.
text
For those who prefer a visual summary, the following video offers a compelling look at transforming reclaimed pallet wood into a finished art piece, complementing the technical details we are about to explore.
This guide is structured to walk you through the critical challenges and professional solutions for working with reclaimed wood. Explore the topics below to build a foundation of knowledge that ensures your next project is not only beautiful but also safe and enduring.
Summary: The Professional’s Guide to Transforming Reclaimed Wood into Art
- Why Reclaimed Barn Wood Warps Indoors and How to Stabilize It?
- How to Spot Toxic Pallets Marked with ‘MB’ Before You Cut Them?
- Free Wood or Expensive Labor: Is Processing Recycled Wood Actually Cheaper?
- The Blade Breaker: How to Find Hidden Nails Before They Ruin Your Saw?
- How to Seal Old Wood Without Making It Look Like New Plastic?
- Organic Matter or Plastic: Which Decays Faster in a Mixed Media Piece?
- After Effects or Cinema 4D: Which Tool Offers Faster Turnaround for Explainer Videos?
- Mixed Media Innovation: How to Combine Incompatible Materials Successfully?
Why Reclaimed Barn Wood Warps Indoors and How to Stabilize It?
The primary reason your beautiful, rustic barn wood turns into a twisted potato chip indoors is a scientific principle: Equilibrium Moisture Content (EMC). Wood is hygroscopic, meaning it constantly exchanges moisture with the surrounding air to reach a balance. A barn is a high-humidity environment, while a modern, climate-controlled home is very dry. This dramatic shift is the root of the problem. Wood that was stable in a barn suddenly begins shedding massive amounts of moisture, causing it to shrink unevenly, cup, warp, and crack.
The science is clear and unforgiving. According to research from Penn State Extension, wood in outdoor barn conditions at 77% relative humidity (RH) can have a moisture content (MC) of nearly 15%. Indoors, at a typical 40% RH, the wood will desperately try to reach a new EMC of around 4-6%. This massive loss of moisture is what causes catastrophic movement. Ignoring this phase of acclimatization is the single most common failure point for projects using reclaimed wood.
Stabilization is not a suggestion; it’s a mandatory process of controlled acclimatization and reinforcement. You must give the wood time to adjust to its new environment *before* you cut, join, or finish it. Forcing the issue will only lock in the wood’s internal stresses, guaranteeing it will tear itself apart over time. True craftsmanship respects the nature of the material, guiding it gently into a new state of equilibrium.
Action Plan: Professional Wood Stabilization
- Acclimate wood gradually over 2-4 weeks in a controlled environment before processing.
- Apply a penetrating epoxy stabilizer to any soft, “punky” areas using thin initial coats.
- Build a cradled panel support frame with cross-grain battens on the back to resist warping.
- Cut relief kerfs 1/3 of the board’s thickness deep at 6-inch intervals on the back to release tension.
- Monitor with a moisture meter until the wood reaches the target 6-8% MC for indoor use.
How to Spot Toxic Pallets Marked with ‘MB’ Before You Cut Them?
Not all pallet wood is created equal, and some of it is dangerously toxic. Before you even think about cutting, you must become a detective, inspecting for stamps that reveal how the pallet was treated for international shipping. The most critical one to identify and avoid is ‘MB’, which stands for Methyl Bromide. The EPA lists methyl bromide as a “highly acute toxic” substance, a potent neurotoxin and ozone-depleting fumigant. While its use on new pallets was phased out in the mid-2000s, countless older ‘MB’ pallets are still in circulation, weathering away in scrap piles and looking deceptively rustic.
Bringing an ‘MB’ pallet into your workshop and cutting it aerosolizes this toxic chemical, which you can then inhale. It is an unacceptable risk for any project, especially one destined for an indoor environment. Your first task is always to locate the stamp, which is usually on one of the pallet’s stringer boards or blocks. If you see ‘MB’, walk away. Do not burn it, do not repurpose it. It is hazardous waste.
The image below highlights the kind of weathering, staining, and texture variations you should be wary of, even if a clear stamp isn’t visible. These visual cues can indicate a history of industrial use and potential contamination that warrants extreme caution.
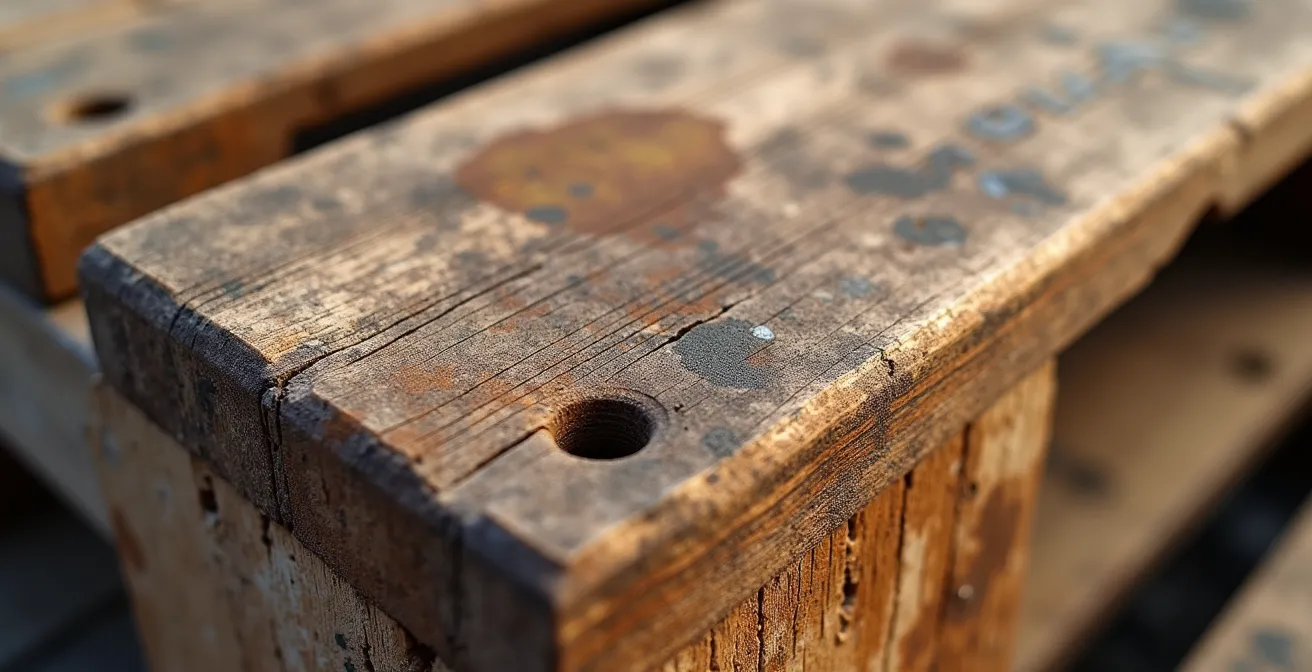
Fortunately, there are safe alternatives. The ‘HT’ stamp indicates the wood was Heat Treated, a process that kills pests without chemicals, making it perfectly safe for all art and furniture projects. Other safe stamps include ‘KD’ (Kiln Dried) and ‘DB’ (Debarked). If a pallet has no stamp at all, you must assume the worst and treat it as unsafe. When it comes to your health, there is no room for guesswork.
This comparative table, based on information from guides like those on 1001Pallets, is an essential reference for any recycled wood artist.
| Code Stamp | Treatment Type | Safety Level | Recommended Use |
|---|---|---|---|
| MB | Methyl Bromide | Toxic – Never Use | Avoid all contact |
| HT | Heat Treated | Safe | All projects |
| KD | Kiln Dried | Safe | All projects |
| DB | Debarked | Safe | All projects |
| No Stamp | Unknown | Risky | Avoid for safety |
Free Wood or Expensive Labor: Is Processing Recycled Wood Actually Cheaper?
The myth of “free wood” is perhaps the most pervasive and misleading idea in the world of upcycling. While the initial acquisition of a pallet might cost nothing, transforming that rough, nail-riddled material into a clean, flat, and usable art surface is an incredibly labor-intensive process. When you factor in your time, the cost of consumables, and the wear and tear on your tools, “free” wood often becomes significantly more expensive than buying new, professionally milled lumber.
Consider the workflow: de-nailing, scrubbing away dirt and contaminants, planing rough surfaces, cutting to size, and laminating. These are not trivial tasks. In fact, industry estimates suggest it can take 15-20 hours of labor to produce just 100 square feet of finished panels from pallets. If you value your time even at a modest rate, the cost quickly skyrockets. This doesn’t even account for the hidden costs, like a ruined saw blade from a missed nail or the price of specialized tools needed for safe and efficient processing.
A true cost analysis forces a more professional perspective. The choice isn’t between “free” and “expensive” material; it’s between investing your money or investing your time. For an artist, time is often the more valuable commodity—time that could be spent on the creative act itself rather than laborious, repetitive processing.
This analysis breaks down the real-world costs. While the raw material is free, the labor and equipment costs quickly add up, bringing the total cost of a DIY pallet panel surprisingly close to that of a professional one, without the guarantees of quality and safety.
| Cost Factor | DIY Pallet (per sq ft) | Professional Panel (per sq ft) |
|---|---|---|
| Raw Material | $0 (free pallets) | $8-12 |
| Tools/Equipment | $2-3 (amortized) | $0 |
| Consumables | $1-2 | $0 |
| Labor (@ $25/hr) | $3.75-5 | $0 |
| Total | $6.75-10 | $8-12 |
The Blade Breaker: How to Find Hidden Nails Before They Ruin Your Saw?
Every woodworker using reclaimed materials shares a common nightmare: the shriek of a premium carbide blade hitting a hidden piece of metal. A single, embedded nail fragment can ruin a hundred-dollar saw blade in an instant, turning a cost-effective project into an expensive frustration. Pallets are notoriously filled with hardened, spiral-shank nails designed to withstand incredible forces, making them particularly destructive.
As Penn State Extension experts note, this is by design. In their guide, they highlight a key fact about these materials:
The fact that pallets are built to carry thousands of pounds of goods across the country or around the world reflects the strength of the materials used to build them
– Penn State Extension, Be Safe Around Wooden Pallets Guide
This strength comes from robust fasteners that often break off deep inside the wood during disassembly. A visual inspection is simply not enough. You must assume every board contains metal until proven otherwise. A high-quality handheld metal detector is not a luxury; it is an essential, non-negotiable tool for this type of work. It will pay for itself the very first time it saves your blade.
Once you’ve detected metal, the removal process must be surgical to avoid damaging the wood’s surface. A combination of end-cutting pliers (or “nippers”) and a nail puller bar allows for targeted extraction with minimal impact. The goal is to remove the threat without sacrificing the character of the wood. A methodical, patient workflow is the only way to ensure both your safety and the longevity of your expensive tools.
A professional workflow for this process is essential:
- Scan every board, on all sides, with a handheld metal detector wand.
- Clearly mark every detected piece of metal with chalk.
- Use end-cutting pliers and a cat’s paw or nail puller for targeted removal.
- For initial rough cuts, always use a cheap, sacrificial blade in case you missed something.
- Only switch to your premium finishing blade once you are 100% confident all boards are metal-free.
How to Seal Old Wood Without Making It Look Like New Plastic?
One of the greatest challenges in finishing reclaimed wood is sealing it for archival stability without destroying the very thing that makes it beautiful: its natural patina. Many common topcoats, like polyurethane, create a thick, glossy film on the surface, making the wood look sterile, generic, and encased in plastic. This approach is an aesthetic and archival failure. The goal of a true artist’s finish is to penetrate, stabilize, and protect the wood from within, not to suffocate it under a surface film.
The key is to use sealers that soak into the wood fibers rather than sitting on top. This means looking to the world of fine art conservation for the right materials and techniques. An initial seal coat, often called a “size,” is crucial. This thin, penetrating layer locks down loose wood fibers and, most importantly, creates a barrier to prevent acids and impurities in the old wood from leaching into your paint layers over time—a phenomenon known as Support-Induced Discoloration (SID). Without this barrier, your whites will yellow and your colors will dull from below.
After the initial size, you can build up protection with the right products. Modern hardwax oils are an excellent choice as they nourish the wood and create a durable, repairable, matte finish that feels like natural wood. For artists working with acrylics, ultra-matte acrylic mediums or specific products designed as isolation coats can provide a clear, non-plastic-looking barrier that preserves the wood’s natural appearance while ensuring archival separation.
Case Study: Archival Sealing Methods for Fine Art
Professional art conservators and archival material experts have developed specific protocols for this challenge. They often recommend using a PVA size or a quality acrylic medium like Golden’s GAC-100, diluted 1:1 with distilled water. This thin liquid readily penetrates the wood fibers, creating a stable and reversible barrier without building a thick surface film. This initial step is critical for preventing Support-Induced Discoloration (SID), ensuring the long-term vibrancy of the artwork by isolating it from the wood’s natural acids.
Organic Matter or Plastic: Which Decays Faster in a Mixed Media Piece?
When you combine wood (organic matter) with paint (essentially a plastic film), you are creating a system of inherent tension. These materials live in different worlds and respond to environmental changes in dramatically different ways. This is the heart of material incompatibility. The wood expands and contracts significantly with shifts in humidity, while the acrylic paint layer is comparatively static. This differential movement is a primary cause of failure in mixed media art.
The numbers are stark. Research from the U.S. Forest Products Laboratory indicates that wood can shrink up to 8% across its grain (tangential shrinkage) during a major humidity swing. In contrast, a dried acrylic paint film might only change by 0.5%. The wood is trying to move, but the paint layer is holding it back. This creates immense shear stress right at the interface between the two materials. Over time, something has to give. Usually, it’s the bond between paint and wood, resulting in cracking, flaking, and delamination as the paint is literally ripped off the moving surface.
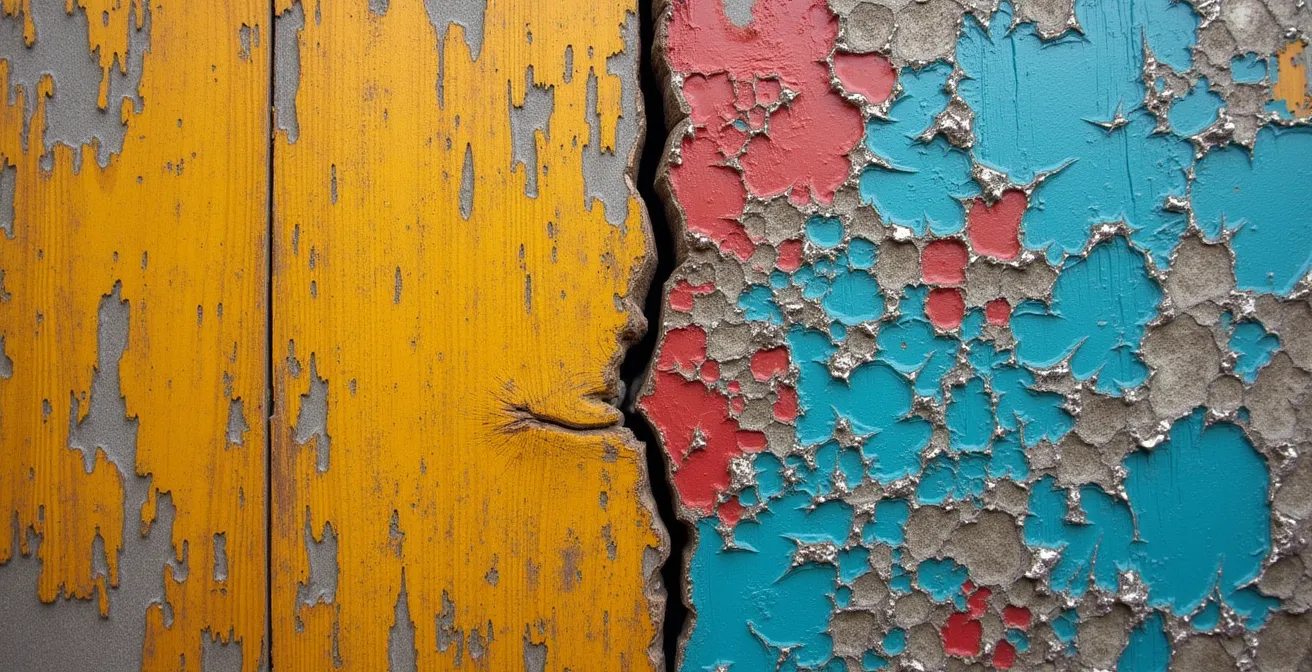
So, which decays faster? It’s a symbiotic failure. The wood’s movement causes the paint to fail, and as the paint film cracks, it allows moisture to penetrate the wood more easily, accelerating the wood’s own decay cycles. They fail together. An archival artist’s job is not to stop this movement—which is impossible—but to accommodate it. This is achieved through proper sealing, using flexible primers and paint mediums, and creating mechanical, rather than just chemical, bonds between layers.
The abstract image below serves as a powerful metaphor for this conflict. It visualizes the boundary where the organic, moving wood substrate is in a constant battle with the static, synthetic paint layer, leading to the cracking and peeling that artists strive to prevent.
After Effects or Cinema 4D: Which Tool Offers Faster Turnaround for Explainer Videos?
This question, seemingly from the world of digital animation, offers a surprisingly sharp metaphor for the woodworker’s primary choice in processing reclaimed timber. In video, After Effects might offer a fast turnaround for a simple, graphic explanation, while Cinema 4D allows for deeper, more textured, but slower, results. The same is true for our tools. A thickness planer is the After Effects of the workshop: it provides a clean, uniform, and perfectly flat surface with incredible speed. It “explains” the wood in a simple, graphic way.
A set of hand planes, however, is our Cinema 4D. The process is slower, more meditative, and requires far more skill. But the result is not a generic, flat surface. It’s a surface that follows the grain, preserves the subtle undulations, and retains the unique character and texture of the old wood. It offers a much deeper, richer “explanation” of the material’s history. The choice of tool, therefore, dictates the artistic outcome.
As the experts at Fine Woodworking Magazine wisely put it, the entire concept of speed is relative to your artistic goals.
The desired ‘turnaround’ depends entirely on the art you want to make – quick clean surfaces for graphic work or heavily textured character-rich surfaces for expressive pieces
– Fine Woodworking Magazine, Artist’s Guide to Wood Preparation
There is no single “best” tool. The decision rests on the artist’s intent. Do you want to erase the wood’s history to create a clean canvas for a graphic composition, or do you want to celebrate that history and make it part of the artwork? The “turnaround” is not just about time; it’s about the character you choose to preserve or remove. The following table illustrates this trade-off between processing time and the resulting surface character.
| Tool Type | Processing Time (10 boards) | Surface Character | Artistic Value |
|---|---|---|---|
| Thickness Planer | 30 minutes | Uniform, clean | Best for graphic/modern art |
| Jointer | 45 minutes | Flat, consistent | Ideal for precision work |
| Hand Planes | 4-6 hours | Textured, authentic | Maximum character preservation |
| Belt Sander | 2 hours | Smooth, some texture | Balanced approach |
Key Takeaways
- Never trust a pallet without inspecting its stamp; ‘HT’ (Heat Treated) is safe, while ‘MB’ (Methyl Bromide) is toxic and must be avoided.
- The “true cost” of “free” wood must include your labor, consumables, and tool wear, often making it more expensive than professional panels.
- Wood stabilization is mandatory for indoor use; you must allow reclaimed wood to acclimate to your indoor humidity for weeks before processing to prevent warping.
Mixed Media Innovation: How to Combine Incompatible Materials Successfully?
The ultimate goal of a prepared art surface is to receive other materials. For the mixed media artist, the challenge is to create successful, lasting bonds between materials that often don’t want to cooperate. Combining metal leaf, textiles, epoxy resin, or encaustic wax with a wood substrate requires a deep understanding of surface preparation. Simply applying an adhesive is a recipe for failure. Each new material requires a specific “bridge” to connect it to the wood panel.
Success lies in creating the ideal surface for each specific application. For example, epoxy resin requires a perfectly sealed and lightly sanded surface to achieve a flawless mechanical bond. Metal leaf, on the other hand, needs a specific type of adhesive (a ‘size’) applied over a sealed surface, which must be allowed to reach the perfect level of “tack” before the leaf is applied. Textiles might require a heavy gel medium that can both adhere the fabric and accommodate its texture.
This is where the true artistry and technical skill converge. Master artists who successfully combine disparate materials are also masters of surface preparation. They understand that incompatibility is not a barrier but a problem to be solved with the right sequence of sealers, primers, and adhesives.
Case Study: Contemporary Artists’ Mixed Media Techniques
Artists at the forefront of mixed media provide a masterclass in solving incompatibility. For instance, renowned artist Lorna Simpson often layers photographic transfers onto her wood panels. This is achieved by using acrylic gel mediums that act as both an adhesive and a transfer film, bonding the image to a meticulously sealed wood surface. Similarly, Jorge Pardo, known for his work combining wood with vibrant inlays, routes precise channels into the wood and uses specialized, slightly flexible epoxy adhesives to bond materials like metal or plastic. This method allows for the differential expansion and contraction of the materials, preventing stress fractures and ensuring a durable, long-lasting bond. These examples show that success comes from careful preparation and choosing the right bonding agent to bridge the gap between incompatible materials.
By embracing these principles of material science, safety, and meticulous preparation, you elevate your practice from simple upcycling to true craftsmanship. The resulting surface is no longer just a piece of recycled wood; it is a stable, archival, and luxurious foundation worthy of your artistic vision. Begin today to apply this respectful and knowledgeable approach to your work.
Frequently Asked Questions on Sealing Reclaimed Wood for Art
What’s the difference between a sealer and a primer for fine art?
Sealers are designed to penetrate and stabilize the wood fibers, often creating a barrier against acids (like SID). Primers are designed to create a uniform, paintable surface on top of the sealed wood. For archival work, you use both: first a sealer like PVA size or diluted acrylic medium, then a primer like gesso.
How can I seal wood while preserving its natural patina?
The key is to use products that soak into the wood rather than forming a thick film on the surface. Hardwax oils and ultra-matte acrylic mediums are excellent choices. They penetrate the fibers, protect the wood, and maintain a natural look and feel. Always apply thin coats and wipe away any excess that hasn’t soaked in.
What is an isolation coat and why is it important?
An isolation coat is a clear, non-porous, and, ideally, reversible barrier applied between the support (wood) and the paint layers. Its primary job is to prevent acids and impurities from the wood from migrating into the paint and causing it to yellow or discolor over time. It is an essential step for any artwork intended to be of archival quality.